Converting images to embroidery with Wilcom Embroidery Studio involves a process known as auto-digitizing and manual digitizing. This allows you to create stitch-based designs from raster images (e.g., JPEG, PNG) or vector images (e.g., SVG, EPS). Here’s a step-by-step guide on how to convert images to embroidery using Wilcom:
How to convert images to embroidery with Wilcom?
Step 1: Prepare the Image
- Choose a High-Quality Image: Select a clear, high-resolution image. Simple designs with solid colors and less detail work best for auto-digitizing.
- Edit the Image: If needed, use image editing software (e.g., Adobe Photoshop, GIMP) to clean up the image. Remove unnecessary details, enhance contrast, and simplify colors to make the digitizing process smoother.
Step 2: Import the Image into Wilcom
- Open Wilcom Embroidery Studio: Start the software and create a new design.
- Import the Image:
- Go to
Image>Insert Image, then select the image file you want to convert. - The image will be placed in the embroidery workspace.
- Resize and Position the Image: Use the handles to resize and position the image within the hoop area.
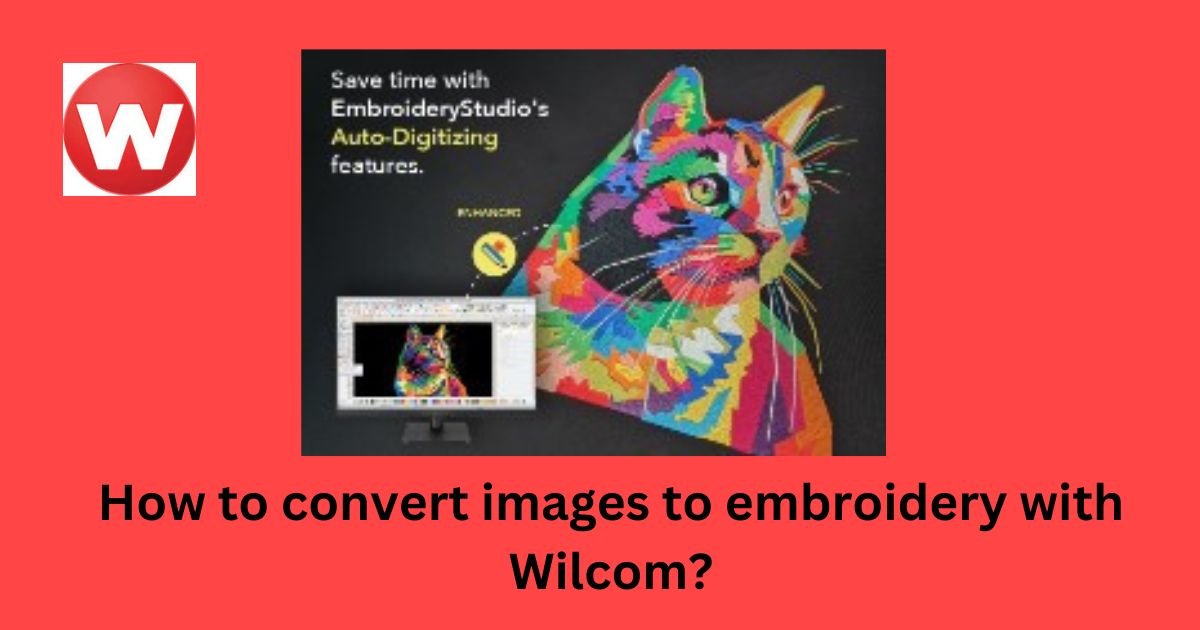
Step 3: Auto-Digitizing the Image
Wilcom offers auto-digitizing tools that can automatically convert your image into embroidery stitches.
- Auto-Digitize Bitmap:
- With the image selected, go to
Auto-Digitize>Auto-Digitize Bitmap. - The software will automatically detect shapes and colors in the image and convert them into different stitch types (e.g., fill, satin).
- Select Stitch Type: In the
Auto-Digitizeoptions, you can select stitch types for different parts of the image. The software typically uses a combination of fill stitches for large areas and satin stitches for borders. - Adjust Colors: Wilcom will attempt to match the image colors to the thread colors in the color palette. You can manually adjust these colors to match your embroidery thread.
Step 4: Manual Adjustments (Optional)
Auto-digitizing is fast but often requires manual adjustments for the best results.
- Edit Object Properties:
- Select any section of the auto-digitized design.
- Right-click and choose
Object Propertiesto adjust settings like stitch type, density, underlay, and pull compensation.
- Add or Remove Stitch Points:
- Use the
Edittools to add, delete, or move stitch points to refine the design. - Adjust the stitch angles to ensure smooth and even stitching.
- Modify Stitch Direction:
- Select different parts of the design and change the stitch direction lines to control the way stitches lay on the fabric.
Step 5: Manual Digitizing (For Complex Designs)
For complex or highly detailed images, manual digitizing provides more control.
- Trace the Image Manually:
- Use tools like
Complex Fill,Satin,Run, orColumnto manually trace over the image. - Start with large filled areas using
Complex Fill. - Use
Satinstitches for outlines, borders, or text.
- Set Stitch Properties:
- As you create each section, set stitch properties (e.g., density, underlay) to ensure the best embroidery quality.
- Add Details:
- Add details like small shapes, outlines, and text using appropriate stitch types for a polished look.
Step 6: Preview and Simulate the Design
- Preview the Design: Use
TrueView(Tkey) to see a realistic preview of how the embroidery will look. - Simulate Stitching:
- Go to
View>Slow Redrawto watch a simulation of the stitching process. - This helps identify any areas where stitching might overlap or need adjustment.
Step 7: Save and Export the Design
- Save the Embroidery Design:
- Save the design in Wilcom’s native format (
.EMB) to keep all editing capabilities. - Go to
File>Save Asand choose.EMB.
- Export to Machine Format:
- Export the design to a format compatible with your embroidery machine (e.g.,
.DST,.PES). - Go to
File>Export>Export Machine File.
Step 8: Test the Design
- Stitch a Test Sample:
- Always test the design on a fabric similar to the final product to check for issues like puckering, thread breaks, or alignment problems.
- Make Final Adjustments:
- If the test run shows any issues, go back to Wilcom to adjust stitch types, densities, and underlays as needed.
Tips for Best Results
- Simplify the Image: Auto-digitizing works best with simple, clean images with clear boundaries.
- Use High Contrast: Images with high contrast between elements help the software distinguish between different parts of the design.
- Control Stitch Density: Ensure that the stitch density is appropriate for the fabric type to prevent puckering or stiffness.
- Use Underlay Stitches: Proper underlay stitches help stabilize the fabric and improve the appearance of the top stitches.
Conclusion
Converting images to embroidery with Wilcom involves a mix of auto-digitizing and manual refinement to achieve the best results. While auto-digitizing provides a quick starting point, manual adjustments are often necessary to fine-tune the design and ensure a high-quality embroidery output. By following these steps, you can effectively transform images into beautiful embroidery designs suitable for stitching on various fabrics.